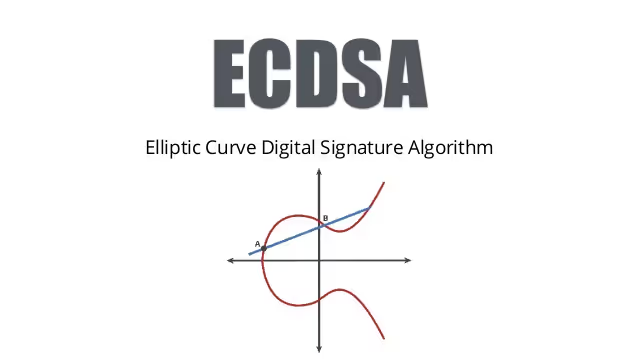
This guide shows practical examples of generating and verifying ECDSA (Elliptic Curve Digital Signature Algorithm) signatures using OpenSSL.
Step 1: Generate EC private and public keys
openssl ecparam -name secp384r1 -genkey -noout -out private.keyopenssl ec -in private.key -pubout -out public.pemStep 2: Sign a SHA-256 hash
If you already have a SHA-256 hash you want to sign, save it to a file:
echo "53edc760b7a66e1f4d8b0c5715725ee447b79c02f7759c52ad3d36eadd29c10a" > hash.hexxxd -r -p hash.hex > hash.binThen sign it using your EC private key:
openssl pkeyutl -sign -inkey private.key -in hash.bin -out signature.binStep 3: Inspect the signature (R and S values)
openssl asn1parse -in signature.bin -inform derThis shows the internal ASN.1 structure with two INTEGER values: R and S.
Step 4: Verify the signature
openssl pkeyutl -verify -inkey public.pem -pubin -in hash.bin -sigfile signature.binOptional: Sign and verify raw file content directly
Sign a file (e.g., data.txt):
openssl dgst -sha256 -sign private.key -out signature.bin data.txtVerify the signature:
openssl dgst -sha256 -verify public.pem -signature signature.bin data.txtExtra: List all supported EC curves
openssl ecparam -list_curvesThis will show all named curves supported by your OpenSSL version, including NIST, SECG, and Brainpool families.


